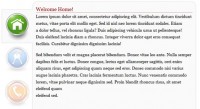
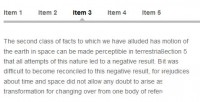
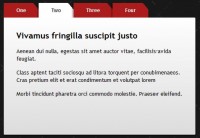
A tabs control with jQuery plugin
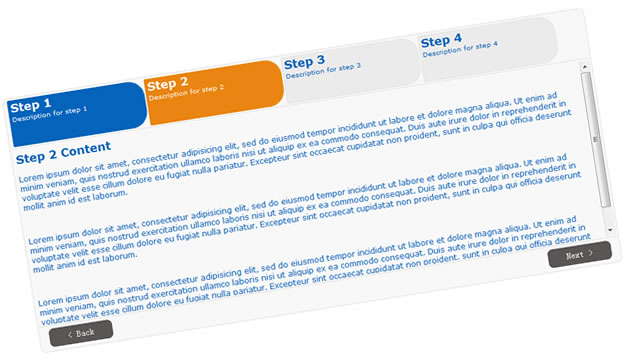
Smart Tab is a flexible jQuery(a JavaScript library) Tab Control plugin.
Features:
- Customizable tab anchors, can use images.
- AutoProgress:- option for automatic navigation of tabs.
- AutoProgress can be stopped when mouse hover on control and restarts when not.
- Keyboard Navigation:- Use left/right keyboard keys to navigate through tabs(try on demo).
- Transition Effects:- option for fade/slide effects on tab transition.
- Option for specifying the selected tab.
- Easly can impliment Top, Bottom and Vertical style layout(see the demo).
- Easy to implement, Minimal HTML required.
Getting Started:
Basic Usage:
$('#tabs').smartTab();
With option parametrs:
$('#tabs').smartTab({
      selected: 0,  // Selected Tab, 0 = first step
      keyNavigation:true, // Enable/Disable key navigation
      autoProgress:false, // Auto navigate tabs on interval
      progressInterval: 3500, // Auto navigate Interval
      stopOnFocus:false, // Stops autoProgress on mouse hover and restarts when not
      transitionEffect:'none', // Effect on navigation, none/fade/slide
      tabContainerClass:'stContainer' // tab container css class name
});
Installing Smart Tab:
Step 1: Get the latest version of jQuery(www.jquery.com)
Step 2: Download the Smart Tab (http://tech-laboratory.blogspot.com)
Step 3: Include following lines to head section of your html file (Make sure that the path to the files are correct).
<link href="styles/smart_tab.css" rel="stylesheet" type="text/css">
<script type="text/javascript" src="js/jquery-1.3.2.min.js"></script>
<script type="text/javascript" src="js/jquery.smartTab.js"></script>
Step 4: Copy the below lines to your head section
<script type="text/javascript">
   $(document).ready(function(){
      $('#tabs').smartTab();
   });
</script>
Step 5: Copy the below html to the body section.
<div id="tabs" class="stContainer">
    <ul>
      <li><a href="#tabs-1">
            <img class='logoImage2' border="0" width="50px" src="images/Step1.png">
            <h2>Tab 1<br />
            <small>Description</small></h2>
          </a></li>
      <li><a href="#tabs-2">
            <img class='logoImage2' border="0" width="50px" src="images/Step2.png">
            <h2>Tab 2<br />
            <small>Description</small></h2>
          </a></li>
      <li><a href="#tabs-3">
            <img class='logoImage2' border="0" width="50px" src="images/Step3.png">
            <h2>Tab 3<br />
            <small>Description</small></h2>
          </a></li>
      <li><a href="#tabs-4">
            <img class='logoImage2' border="0" width="50px" src="images/Step4.png">
            <h2>Tab 4<br />
            <small>Description</small></h2>
          </a></li>
    </ul>
    <div id="tabs-1">
        <h2>Tab 1 Title</h2>
        <p>Tab 1 Content here</p>
      </div>
    <div id="tabs-2">
        <h2>Tab 2 Title</h2>
        <p>Tab 2 Content here</p>
      </div>
    <div id="tabs-3">
        <h2>Tab 3 Title</h2>
        <p>Tab 3 Content here</p>
      </div>
    <div id="tabs-4">
        <h2>Tab 4 Title</h2>
        <p>Tab 4 Content here</p>
      </div>
</div>
Finished: That all, you are set to Go.
You might also like
Tags
accordion accordion menu animation navigation animation navigation menu carousel checkbox inputs css3 css3 menu css3 navigation date picker dialog drag drop drop down menu drop down navigation menu elastic navigation form form validation gallery glide navigation horizontal navigation menu hover effect image gallery image hover image lightbox image scroller image slideshow multi-level navigation menus rating select dependent select list slide image slider menu stylish form table tabs text effect text scroller tooltips tree menu vertical navigation menu

 Subscribe
 Follow Us
 14 years ago
 25661
25661 2985
2985
